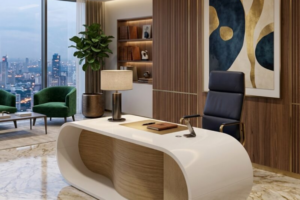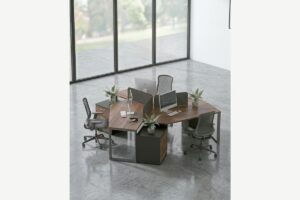

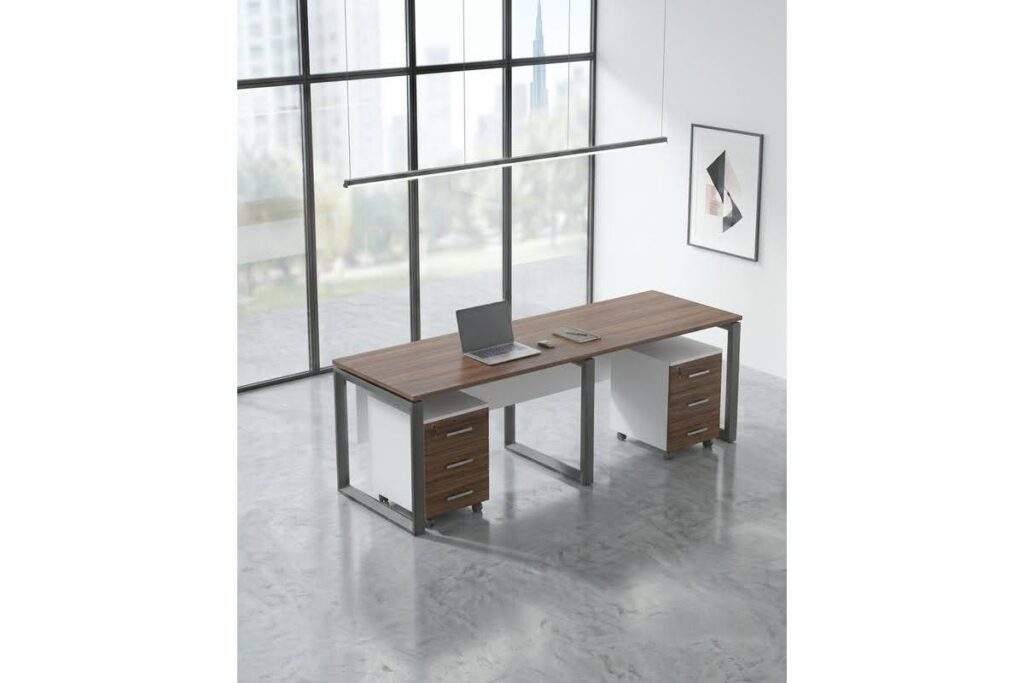
Setting up a new office in Dubai is an exciting step for any business. You have secured your commercial space, completed the paperwork, and got your trade license. Now comes the exciting part: it is time to turn the space into a dynamic, productive workspace.
But choosing the best office furniture in Dubai is only the first step. The furniture must also fit your space, meet your team’s requirements, and arrive on time. Plus, large or customized furniture may take longer to arrive, so waiting until the last minute can affect your budget and timeline.
However, a clear procurement timeline can help you avoid last-minute purchases, unexpected costs, and delays before your team moves in.
Whether you are opening a small office or furnishing a large corporate workspace, efficient planning can make the process easier. In this guide, we explain each stage of office furniture procurement and show you how to create a practical, comfortable, and professional workplace. Let us begin.
The office furniture fit-out process follows a structured approach, and each stage has specific tasks, responsibilities, and an expected timeline. Let’s look at what happens at each stage and how long it typically takes.
Before you begin shopping for office furniture, get your trade license. Once your trade license is approved, you can officially begin planning. At this stage, avoid ordering furniture immediately. First, understand the office dimensions, layout, and any requirements from the building or landlord.
The entire project begins with a consultation. Think of this as the phase where the fit-out team learns your needs.
Here, the client and contractor discuss the number of employees, departments, and the overall space you need. The conversation also includes desks, meeting rooms, cabins, storage solutions, and much more.
The contractor then uses these details to design an initial layout. This gives you a clear idea of the space, layout, specifications, and work involved before moving on to the design stage.
Once the project requirements are clear, the next step is to visit and check the actual office space. The team will visit your site to take measurements and understand the condition of your existing office space.
The team will review electrical points, air conditioning, fire safety, emergency exits, and other building services. They will also note any structural limitations or building rules that could affect the proposed design.
The purpose is simple: to confirm whether the proposed office layout will actually work in the available space.
Addressing limitations early makes it easier to control the budget, avoid major design changes, and keep the fit-out on schedule.
The team first prepares a basic plan showing areas such as workstations, meeting rooms, cabins, reception, and common spaces. Once the layout is agreed, they finalize furniture, flooring, lighting, colors, and other finishes. The design team uses 3D visuals to show what the finished office will look like.
The team also prepares detailed plans for electrical work, air conditioning, lighting, data, and other services. You will still have an opportunity to review the design and make changes before it is finalized.
Spending time on the design now can prevent costly changes later.
Once the design is finalized, the next step is to prepare the Good for Construction (GFC) drawings. These are the final drawings that the site team uses to carry out the fit-out work.
The drawings include key details for areas such as layout, electrical work, lighting, air conditioning, data, and other services. At this stage, the contractor also prepares the final cost estimate for the project.
Once the design, drawings, and costs are approved, the project moves closer to actual construction. The contractor starts ordering the materials before the construction phase begins.
Materials such as glass, gypsum boards, electrical items, flooring, lighting, and finishes are ordered based on the approved design. The contractor also coordinates with building management, arranges site access, sets up temporary facilities, and puts safety measures in place.
For some big projects, material ordering and site preparation happen simultaneously. This helps the project move forward without unnecessary waiting time.
This is when the office starts to take shape. The contractor begins work on your physical space by installing partitions, door frames, and other elements for each area.
Depending on the design, the drywall or glass partitions are used to create meeting rooms, private cabins, work areas, and collaboration spaces. The contractor also installs electrical wiring and other services as the work progresses.
After the civil work is complete, the contractor moves on to the essential electrical, lighting, data, and air conditioning work, and installs the solutions throughout the office space.
The contractor installs power points, wiring, lights, data cables, and HVAC connections according to the approved plans. Specialist teams come together to complete these tasks, while the main contractor coordinates everyone and ensures everything fits together correctly.
Once the installations are complete, the team tests the systems to make sure everything is working properly.
Your office will now look less like a construction site and more like a finished workplace. The team completes the painting, flooring, ceiling work, joinery, and other finishing touches.
The team then installs furniture based on the approved office layout. The team installs workstations, desks, chairs, storage, and other furniture as per the planned layout.
Glass partitions, branding, and other elements are also added to complete the look. Once these final details are completed, the office is almost ready for the final inspection and handover.
Before the office is officially handed over, the entire space goes through a detailed final inspection. The team checks all the electrical systems, lighting, air conditioning, furniture, finishes, fixtures, and other completed work.
The team records any small issues found during this inspection as snags. The contractor then fixes these issues and repeats the necessary checks.
Once everything has been reviewed and the outstanding issues are resolved, the office is formally handed over to the client. From here, the business can plan for its operations.
Once all these steps are completed, your team can move in and start using the new workspace.
The time required to complete an office fit-out depends on the space size and design complexity. However, as a general guide, you can expect the following timelines:
| Office Type | Size | Typical Timeline | Details |
|---|---|---|---|
| Small Office | Below 5,000 sq. ft. | 12–14 weeks | Smaller offices usually have fewer workstations, partitions, and service requirements. With a simple design, quick approvals, and early material selection, the fit-out process can be completed quickly. |
| Medium Office | 5,000–20,000 sq. ft. | 16–20 weeks | Medium offices generally include a mix of workstations, meeting rooms, cabins, reception areas, and support spaces. Here, more coordination is required between design, procurement, electrical, IT, and installation teams, which adds workload and extends the overall timeline. |
| Large Office | 20,000–50,000 sq. ft or more | 20–24 weeks | Larger offices naturally need more planning and coordination. More areas need completing, more materials need managing, and several teams may work on the project at the same time. The work may also be divided into different areas or phases, with teams working on different sections at the same time. Thus, good planning and coordination are essential to complete the work and avoid unnecessary delays. |
Note: Every office is different, so the actual timeline may vary based on the design, approvals, materials, and site conditions.
Before your employees arrive, confirm:
A well-planned procurement timeline gives you better control over cost, quality, and delivery. By starting early and working with a reliable office furniture partner, you can create a workspace that is functional from day one and supports growth as the business expands.
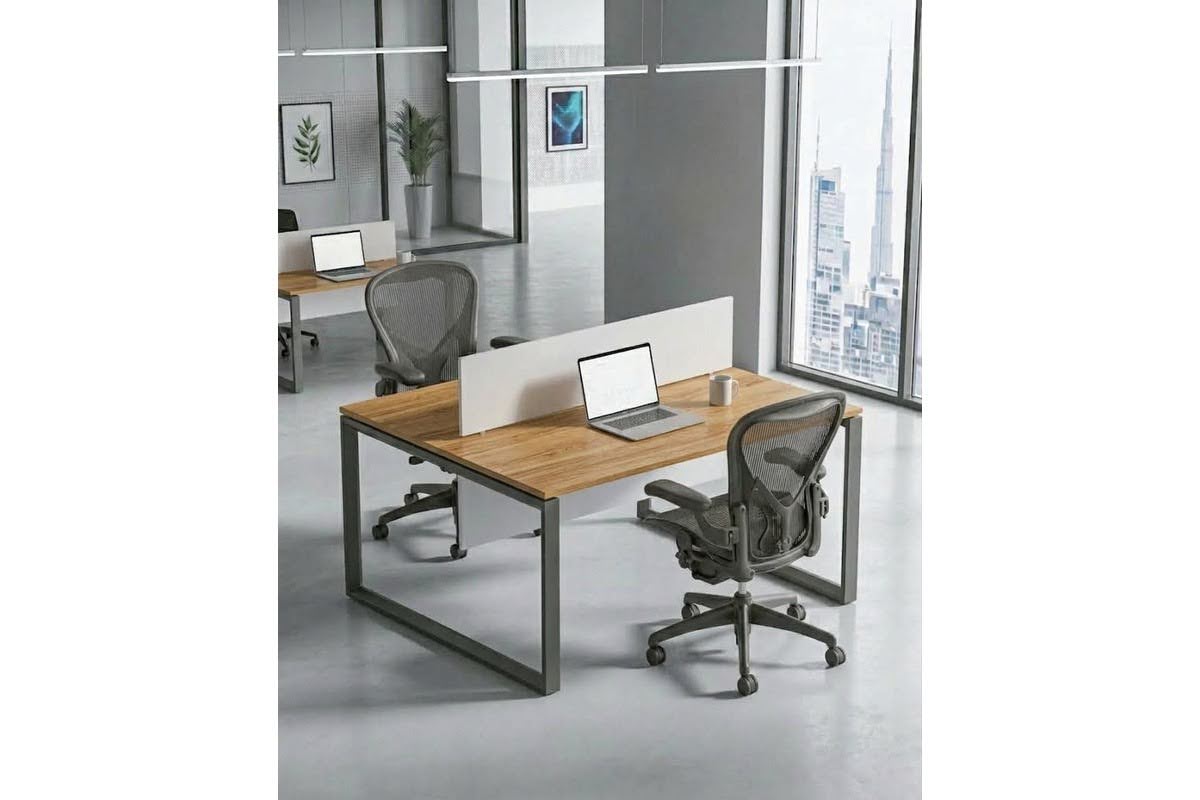
A well-planned office setup can make the move-in process much smoother. From securing your trade license and finalising the layout to coordinating delivery and installation, each stage plays a key role in creating a productive, professional workplace.
At the end of the day, your office is more than just a place to sit and work. It’s where client meetings happen, where your team spends most of their waking hours, and where your brand’s personality comes to life.
Getting the right furniture within your budget and timeline helps you achieve these goals. If you are looking for the best office furniture in Dubai, Iconic Office is here to help.
From ergonomic workstations and executive desks to reception furniture, meeting tables, storage solutions, and office chairs, we offer practical solutions tailored to your space and requirements.
Contact our workplace design experts to explore our latest collections and receive a customized quote for your upcoming office project!